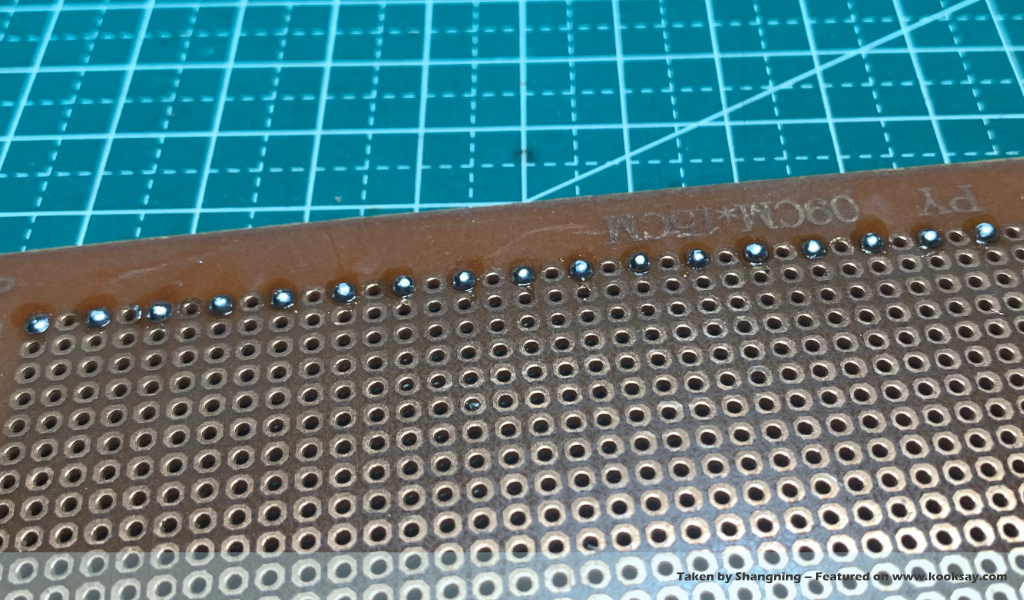
I’ve been working on soldering circuit boards these past few days. As I complete more and more boards, I can clearly feel my soldering skills and experience growing. With increasing proficiency, the products I create have become more refined and plentiful, which brings me great joy and a strong sense of accomplishment.
Meanwhile, I started to think about the optimal temperature setting for hand soldering.
Some online articles suggest setting the station to double the solder’s melting point, i.e., 330 – 360°C. Others propose an additive method: 185°C + 50°C + 70°C = 305°C to account for the above factors. Indeed, setting the station to 330°C as suggested does result in a good soldering experience, but if a lower temperature can achieve the same quality, why not choose the lower setting?
If I could clearly understand why soldering should be done at a specific temperature, it would give me greater confidence in the process.
Factors to Consider When Setting the Soldering Temperature
The basic requirement for soldering is to fully melt the solder. Only fully melted solder can achieve the best fluidity. From this perspective, the tip temperature of the soldering iron must certainly be higher than the solder’s melting point.
Taking the leaded solder I’m currently using as an example, its melting temperature is between 183°C and 188°C. Thus, the first constraint can be established: The soldering iron temperature should not be set lower than 185°C.
On the other hand, the higher the tip temperature, the faster the flux evaporates. Once the flux is exhausted, the solder’s fluidity and wetting properties deteriorate. Therefore, as long as the solder can melt properly, the tip temperature should be kept as low as reasonably possible.
The next constraints are a bit more complex and vary depending on circumstances:
- Since the temperature sensor isn’t installed directly at the tip, the soldering station’s set temperature is not exactly the same as the actual tip temperature; the real tip temperature is usually slightly lower than the set point.
- Moreover, maintaining melted solder and heating it consumes thermal energy. If the soldering iron tip doesn’t have enough thermal “headroom,” it will struggle to properly melt the solder.
- The amount of solder being melted and the heat dissipation from the PCB’s copper pads also contribute to additional heat loss. Therefore, when working with large amounts of solder or highly heat-dissipative circuits, the station’s temperature should be increased accordingly.
- The size of the soldering tip also affects its ability to resist temperature fluctuations. A larger tip has greater thermal stability. With smaller tips, you may need to slightly increase the set temperature to compensate.
These factors jointly determine the final temperature setting. Although it’s difficult to quantitatively account for each factor precisely, following the principle of “the lower the tip temperature, the better, as long as it is sufficient,” we can start from the baseline of 185°C and gradually adjust upwards in 20°C increments to find the most suitable temperature for our own needs.
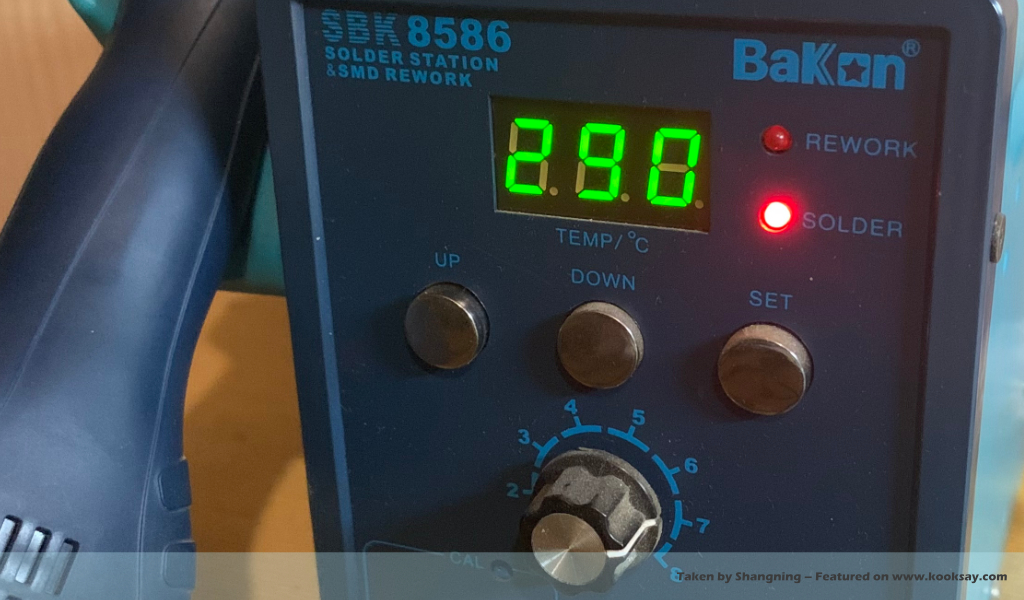
The Ideal Soldering Temperature for Me: 280-290°C
Thus, I conducted my own experiment: starting from 185°C and gradually increasing the temperature, I eventually found that a setting of 280-290°C provided a soldering experience that met my standards.
Based on my own testing and evaluation, the results confirmed my assumptions: indeed, setting the station to 330°C as recommended provides a good soldering experience — especially when working on familiar pads and pins, where faster soldering speeds allow for a relatively higher temperature setting. However, when dealing with unfamiliar circuit boards or soldering steps, using a slightly lower temperature helps the solder remain fluid for longer, allowing for a more controlled process without having to race against the loss of flux activity.
In fact, when I set the temperature to 250°C, I was already able to achieve good solder flow and satisfactory soldering results. However, in order to ensure that the internal structure of the solder joints was as dense and smooth as what I could observe on the surface, and to align more closely with mainstream recommendations found online, I ultimately decided to increase the temperature a bit further.
The Benefits of Lowering Soldering Temperature
You might be curious, what’s the point of deliberately lowering the temperature?
However, I feel that these recommended temperatures are more suitable for experienced users, who solder more efficiently and continuously. A higher soldering station temperature helps the tip recover heat more quickly after each joint. That said, considering my current soldering speed, I think setting the temperature a bit lower might be better for preserving the effectiveness of the flux in the solder.
Additionally, this adjustment brings several clear benefits for myself: Because the temperature is lower, the amount of smoke produced during soldering is noticeably reduced. When reworking joints and reapplying flux, I find I need to use flux less frequently and in smaller amounts. I no longer feel like I’m racing against time before the flux burns away.
Overall, the entire soldering process feels more calm, controlled, and enjoyable.